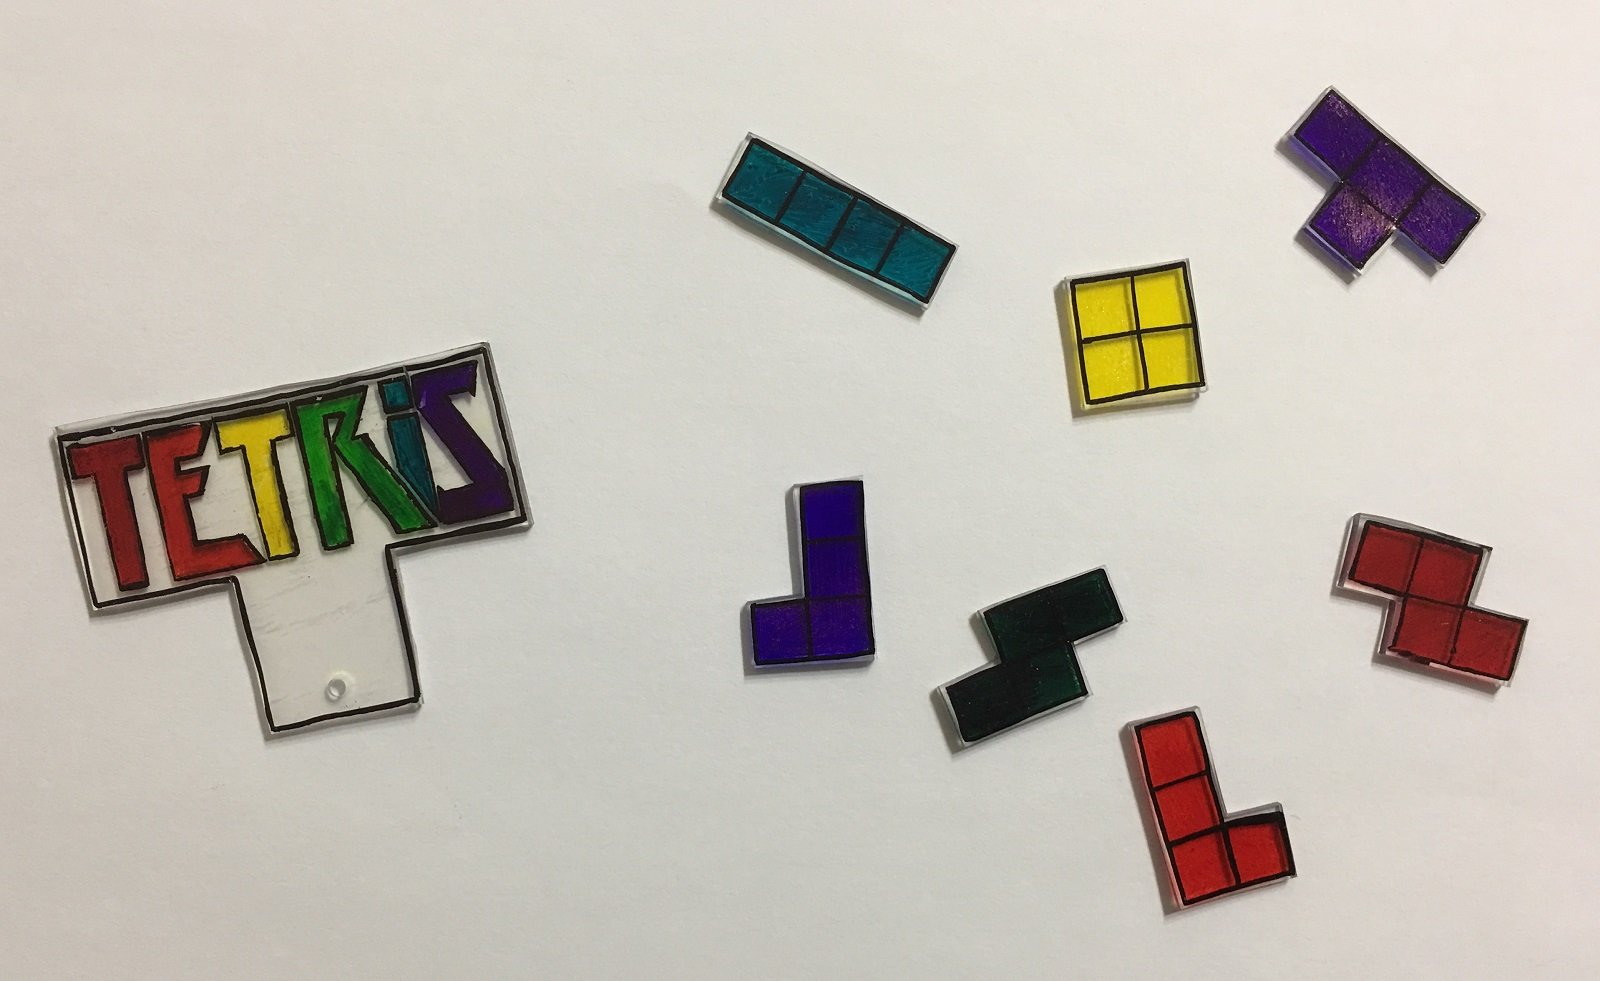
How to Make Custom Tetris Keychains
Add a little Tetris flair to your keychain using Shrinky Dinks.
There are a wide variety of ways to create keychains, from beading all the way to 3D printing. However, if you’re a beginner and looking for an easy way to try your hand at creating custom Tetris keychains, you’ve certainly come to the right place.
One of the coolest methods we’ve come across on our keychain crafting journey utilizes Shrinky Dinks. What is a Shrinky Dink? It’s essentially a simple craft centered around large, flexible sheets.
After creating your design(s) on these sheets, you can heat them up in the oven and they’ll shrink and firm up without altering the color or shape of your design.
Before you can start making your one-of-a-kind Tetris keychains using the Shrinky Dinks method, you’ll need the following supplies:
- Shrinky Dinks Pack
- Felt-Tip Pens or Acrylic Paint
- Scissors
- Hole Punch
- Cookie Pan
- Nonstick Baking Paper
- 24mm Key Rings
Note that you want to avoid using oil paint, crayons, or colored pencils as they will melt under high heat, which is crucial to shrinking your creations. Once you’ve gathered your supplies, arrange everything on a table.
Now, ask yourself what kind of Tetris keychains you’d like to make. Are you looking to make a complete set of all seven Tetriminos, or do you want to make one based on your favorite Tetrimino?
After deciding on the type of design you want to create, and how many, you can begin creating your Tetrimino on the Shrinky Dinks paper. If you’re unsure how to create a Tetrimino, you can go back and review our guide on how to make a Tetris painting.
Pro Tip: It helps to practice your design on a standard piece of paper before using the Shrinky Dinks paper.
In the event that you make an error on the Shrinky Dinks paper, no worries. You can move on to a separate space on the paper and try again. Only the Tetriminos you cut out of the paper and bake will become your finished product.

Once you’re finished drawing/painting your Tetriminos, leave the paper to dry (especially if you’re using acrylic paint) to avoid smudging your design as you cut it out of the paper.
Also, remember to leave enough space at the top for your hole punch, as this is crucial to creating a fully functional keychain.

With all of your soon-to-be keychains designed, cut out, and hole punched, you can now prepare the baking process. Using a flat cookie pan, line it with nonstick baking paper before arranging your keychains.
Just like in our Tetris cookies guide, be sure to leave enough space in-between your designs to prevent them from getting stuck together. Next, preheat your oven to 325 degrees. Then, when your oven is ready, place your pan in the oven and bake for 1-3 minutes.
In the beginning, your keychains will curl up under the heat. However, they’ll soon begin to flatten back out. With the flattening process underway, you’ll only need to leave your keychains in for 30 additional seconds before removing them.

As you remove them, be sure to use an oven mitt to avoid burning yourself, then leave the pan on your stovetop to cool. If you’re making Tetris keychains with your children, make sure they don’t touch the keychains or pan while everything is cooling off!
With all of your keychains nice and cool, grab your 24mm key rings and slide them through the hole you created with your hole punch. And that’s it, you now have custom Tetris keychains! What do you think of your new Tetrimino keychains?
If you bought a pack of Shrinky Dinks paper, you can continue trying your hand at Tetris keychains until you create the perfect design to accompany you wherever you go.
Or, you can take your first batch and place your keychains on your everyday keys, bag, or even your luggage. Soon, people will begin asking you where you got those awesome Tetris keychains, and you can proudly explain that you made them yourself!
With your new Tetris keychains complete, why not reward yourself with a few rounds of Tetris online?

